The experiments continue
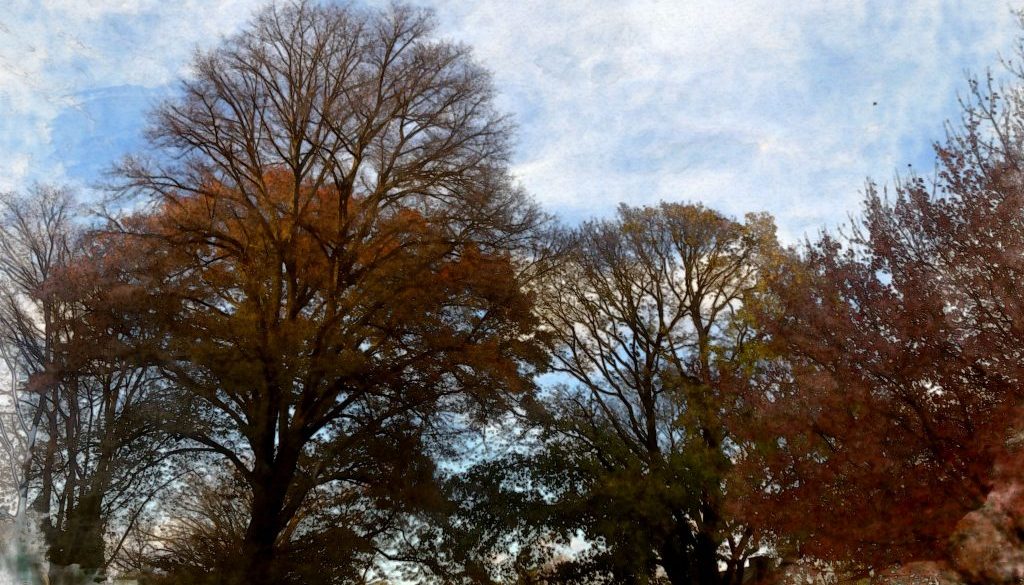
On the way back from a Rise Against Hunger event at Grace Church, I took this photo if the tree canopy. And right after we held our weekly business meeting, I worked on this with oil brushes in Photoshop. But the wacom tablet wasn’t working, so I had to reinstall the drivers and set the new Mac security preferences.
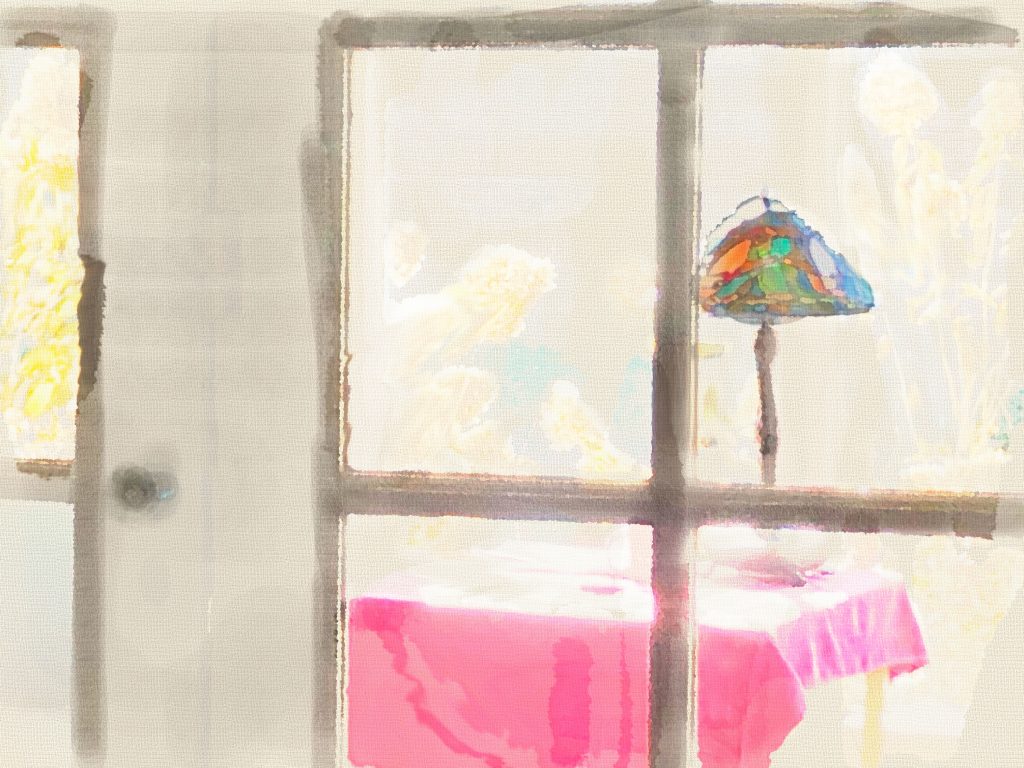
I’m basing techniques used here on some of what I’ve learned from Tim Shelbourne’s work. And while I’m using Photoshop, and while I like Art Rage Painting program, I also upgraded to Corel Painter. Working in so many different programs is a bit crazy. I’m using QGIS, Illustrator, MAPublisher, Natural Scene Designer, Photoshop, and Corel Painter..
Current mapping process. Though I know there are no maps in this post, my whole reason for posting my experiments here is to improve upon my maps.
I use QGIS for data management and initial layouts. Even though I export the maps into Illustrator, I set the projection in Illustrator to work with the colors and then export as layers to Photoshop.
It helps to construct the maps using a non-destructive process that is recorded. Recording doesn’t always work as expected. And the HUGE issue is that if I edit vector data, everything else needs to be redone in Photoshop.
Using smart objects might help, and the new version of Photoshop breaks smart objects into layers. This is very cool.
Ultimately, I need to make a video/blog post of the processes so that I can replicate them. Also, I’m learning a lot about the different brushes in the various programs. This just takes practice and experimentation.
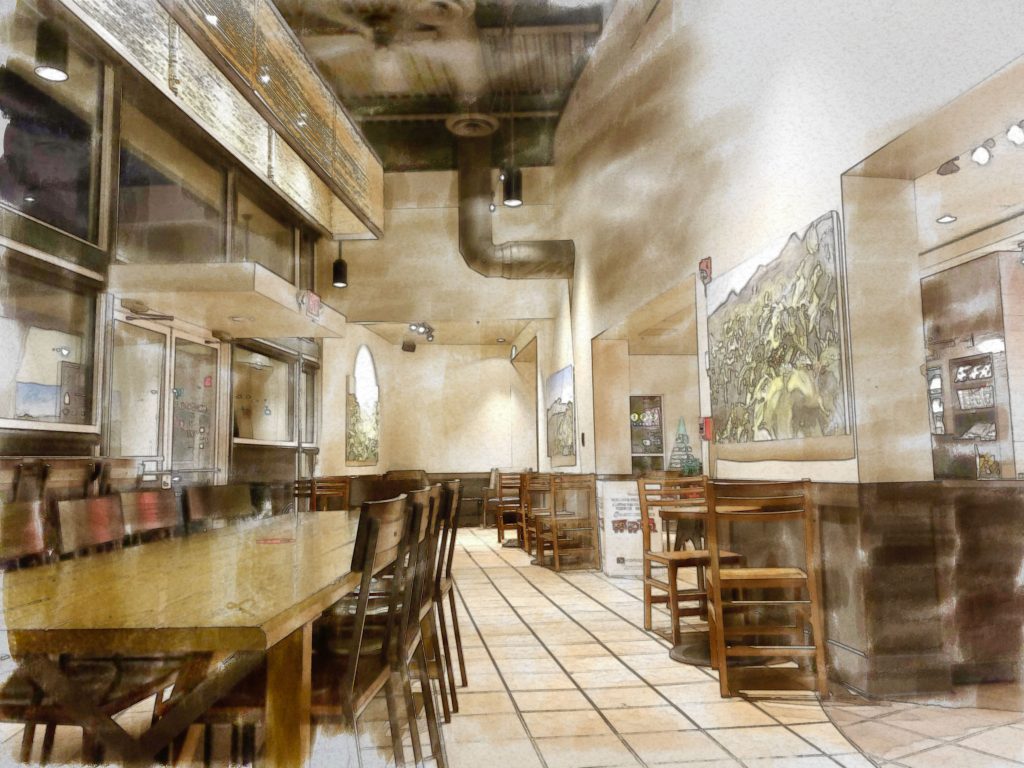
When Starbucks near my house opens, which is now at 5:30, I often walk there. I don’t really need the caffeine at that time of morning, but it’s a destination and a place to work.
This image used a #60 Soft Pastel Large Brush, finished off with a Watercolor Heavy Loaded brush. I like the effect. I’ve been using the #42 Water Color Light Opacity and the #14 Scatter Dry Brush on other maps. But the pastel has potential.
